The Christmas break offered me the opportunity to catch up on ongoing projects. The weather was neither too humid nor too cold for spray priming and painting. And it wasn't like I was going anywhere for the holidays in 2020.
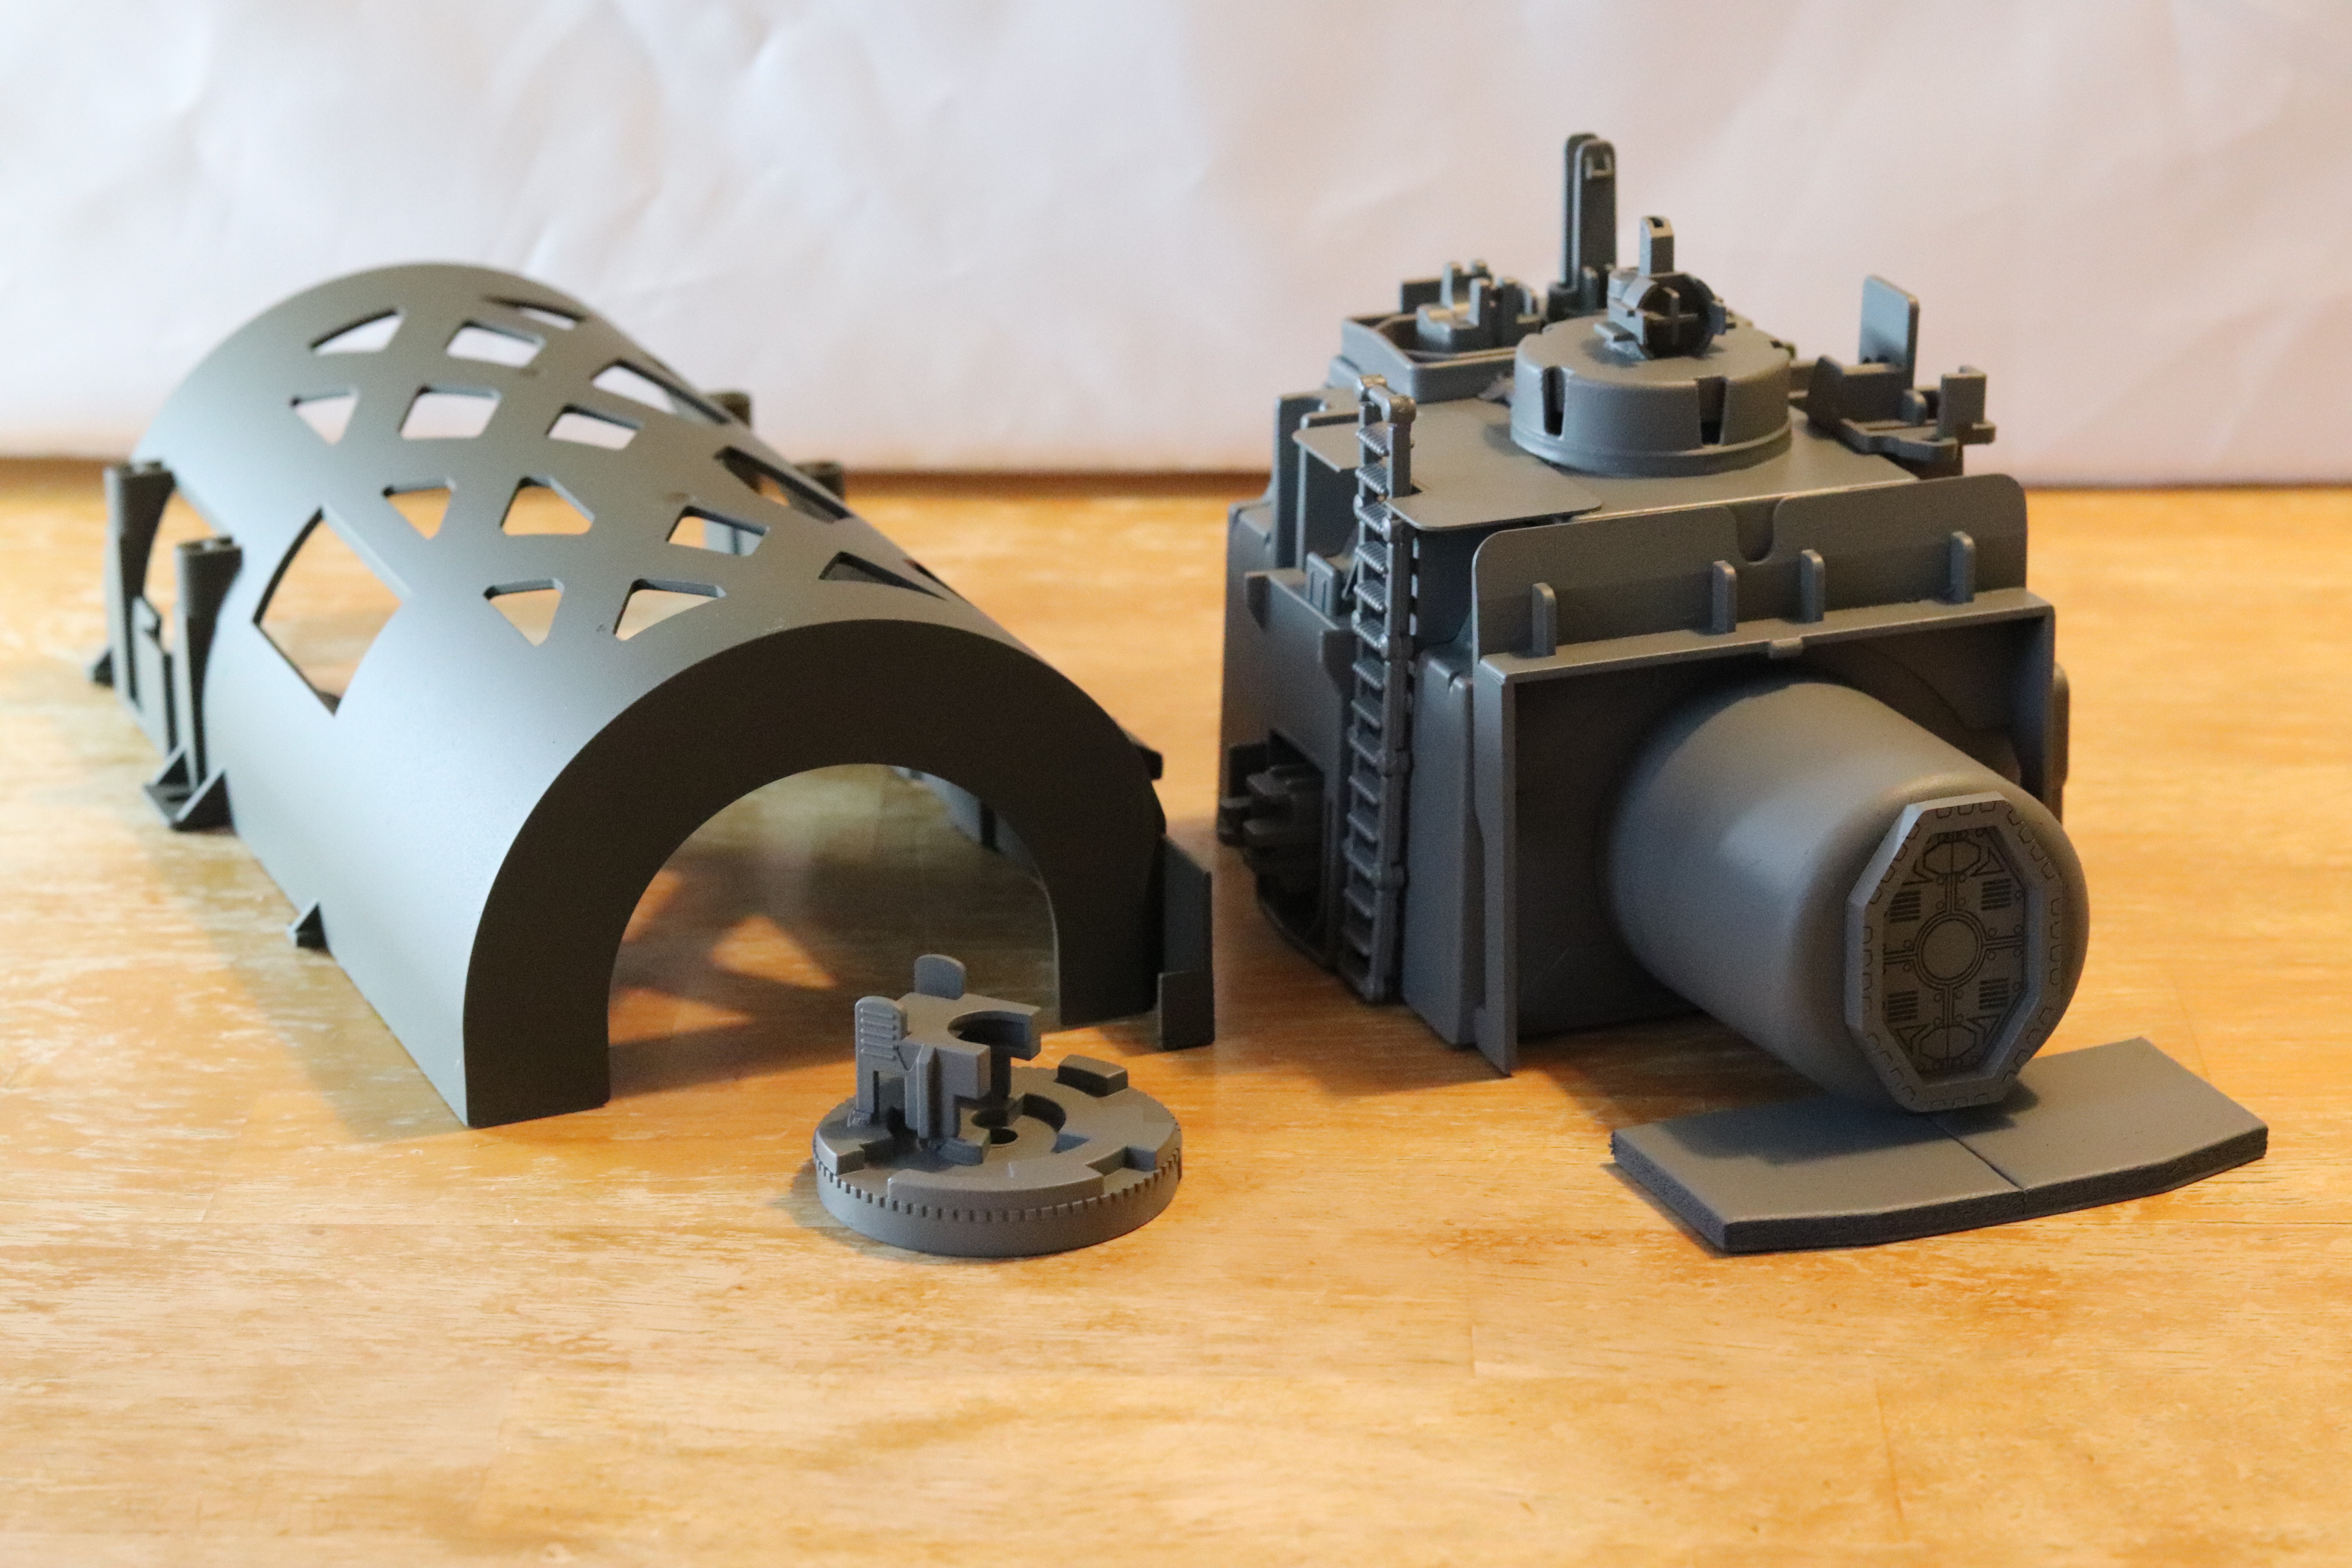 |
| Nothing like a coat of primer to tie everything together. |
But let's back up a little.
My initial post for this project only touched on the concept of using an electrical box for terrain. Plenty on what to do and how to do it, but not much about discussion about the general idea or why an electrical box is a good choice for a project like this one.
The oldest references to electrical box terrain projects that I can find date back to 2009-2010. I have the feeling that the idea is older than that based on the familiarity that these references have when discussing the topic. I also haven't been able to find out who first came up with the notion of taking one of these boxes of blue plastic, gluing on some bits, painting it up, and putting it on the table. It might be one of those things that doesn't have a single, definitive source. There is the possibility that multiple people independently came up with the concept around the same time.
 |
| These things already look like industrial structures. I'm kinda surprised that folks haven't done more with the insides of these things. Something to keep in mind for a future project. |
Electrical boxes appeal for sci-fi terrain projects for a number of reasons:
- Initial appearance. The blocky shape already has enough details to suggest an industrial building.
- Customizing the look. The flat surfaces offer large areas to add details. Want something that can be used in a variety of games? Use generic details. Does it need to fit into an existing collection of terrain for a specific game? Tie it in by adding details specific to that setting. Skulls, for example.
- The ability to determine scale. A box could be made into a shed (28mm), a light industrial building (15mm), or a warehouse (6mm). The scale depends on the size of the doors, windows, and other details added to the box.
- Durability. These boxes are made of tough plastic. The ones I tend to use are PVC. They certainly won't shatter if they fall off a table or get crushed while being transported. The details glued on to them are another story, of course.
- Cost. These are mass produced products made of molded plastic. The ones I favor run from $2-3 USD. There are more expensive ones, but there are also reasons to avoid them.
 |
| The sticker and that protrusion need to go. |
It's not all smooth sailing with a project like this. There are some disadvantages to using electrical boxes for sci-fi terrain:
- They need preparation. Most of these boxes have stickers and protrusions that need to be removed. In fact, the more expensive boxes tend to have more things that get in the way. A contractor might find a nail built into a box handy for mounting it, but a terrain maker might feel differently. I would also recommend sanding the surfaces to allow adhesive and primer to bond better to the surface of the box.
- Sloped sides. The sides of these boxes - the ones I've seen, at least - aren't at right angles to each other. The subtle slopes can complicate a build. See my comments on gluing on the airlock in my previous post.
 |
| What would be a good color for this? |
Returning to this project, I finished priming everything this past weekend.
I primed the underside of the "shelter" piece and inside of the electrical box black. This keeps the blue plastic on the inside from showing through the openings. It also provides some basic shading effects that will be handy later.
Not painting the inside of the clear plastic piece I used for the airlock body might be something I come to regret. Any scratches or wear on the paint covering it will look weird. Unfortunately, the idea didn't occur to me until after assembly.
The main layer of primer is a flat gray. I'm not quite sure what colors I'll be using and priming it a neutral color keeps my options open. Areas like under the ladder ended up needing a little touching up.
Now I just need to figure out what colors to use on the shelter. Maybe an industrial color like yellow?
No comments:
Post a Comment