In this post, I'll be playing around with the Kickstarter sample stamp and the putty supplied with it. Note that process described below goes only as far as texturing the base. I don't have painted examples of miniatures on Happy Seppuku textured bases at this time. A neck and shoulder injury took me away from the workbench for the past few months and I'm only now getting back to fighting the mountain of metal, plastic, and resin that I've acquired.
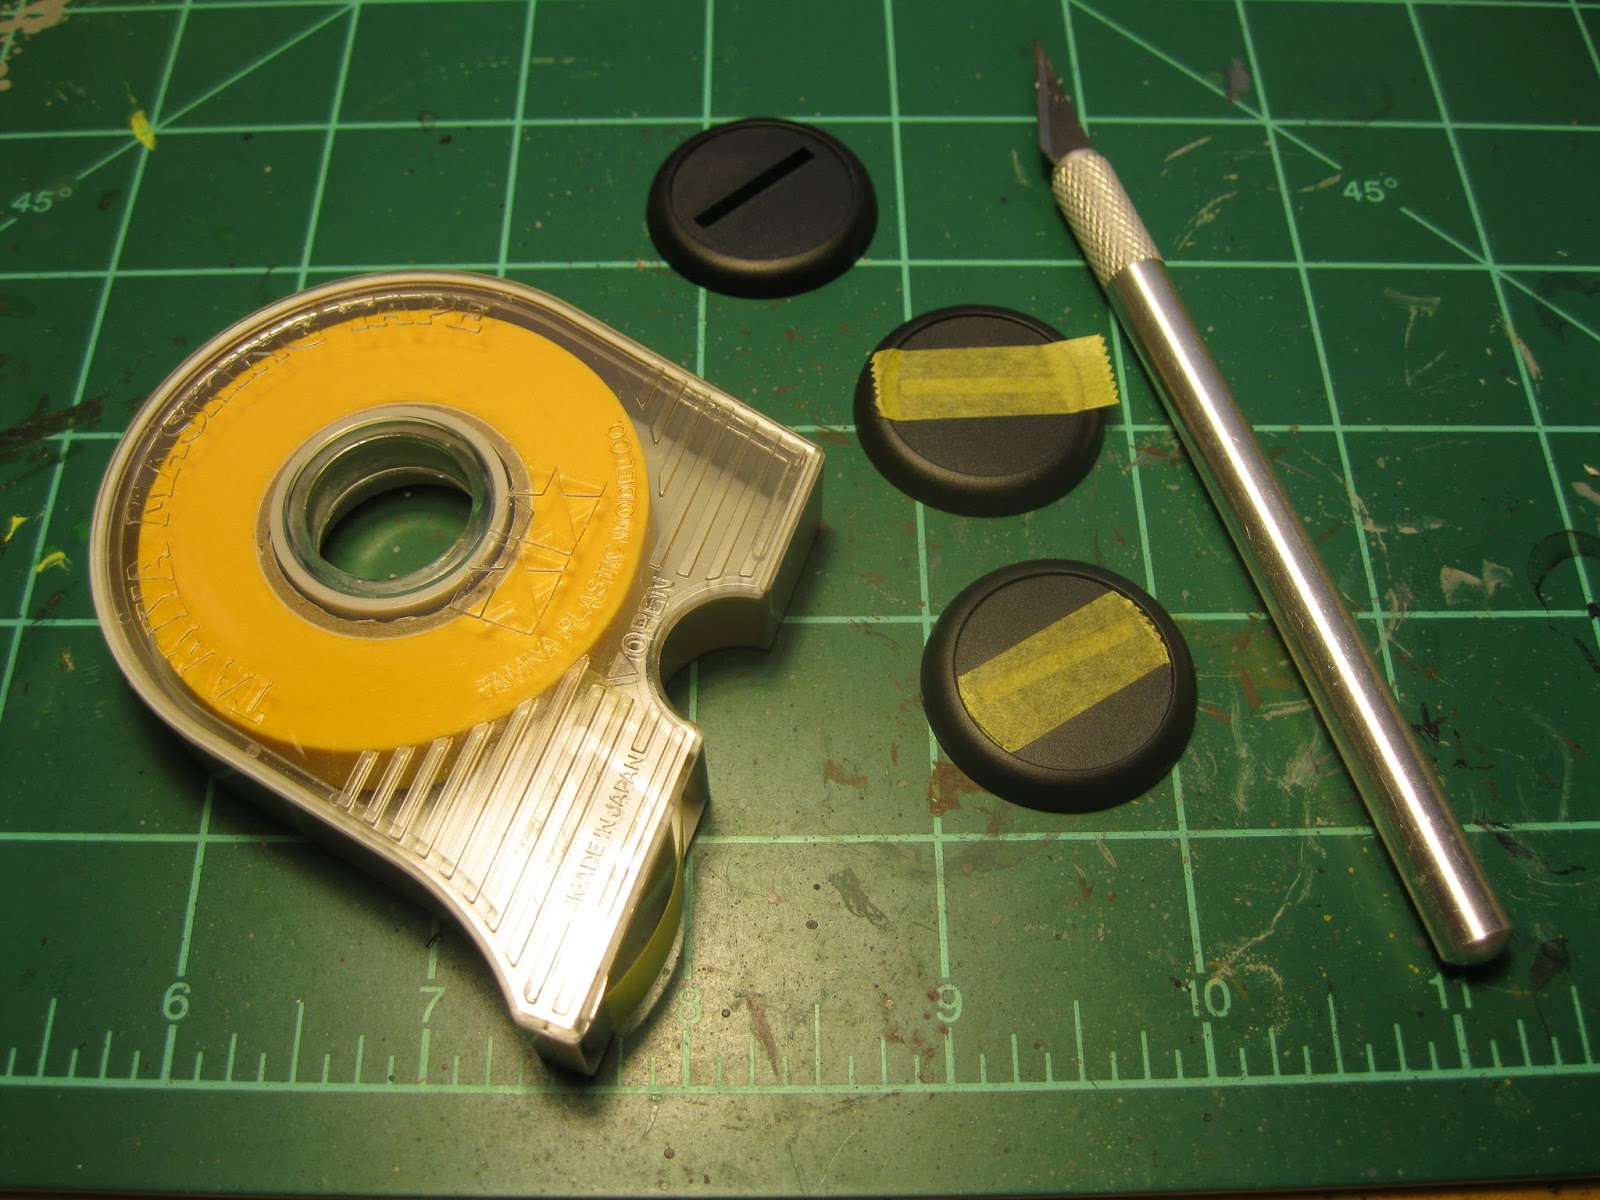
Step One - Taping Up the Base:
 |
| Note to self: Don't forget to cut away the excess tape. |
The Kickstarter sample stamp came with some 30mm round slotted bases with raised edges. The edges keep the putty that holds the texture in place. The putty can still flow over the edges if too much is used. It can also escape through the slot while applying pressure to the stamp. Either can cause the texture to deform. Applying tape to the slot prevents the putty from escaping.
Step Two - Applying the Putty
 |
| Flattening out the putty might help later on, but I didn't think of it in time. |
Next is simply forming some putty into a ball and placing it on the base. I'm not sure what kind of putty was supplied with the Kickstarter sample stamp. It holds together and retains the texture well, but it is very sticky. Some experimentation with other kinds of putty may happen down the road.
Step Three - Texturing
 |
| See the water on the stamp? A little too much. |
This is the fun and tricky part. Just push the stamp down on the base and leave an impression of the texture on the putty. The stamp is made from a soft, flexible rubber that can be pushed into the raised edges of the bases. The tricky part is separating the stamp and the putty cleanly. Applying some water on the putty and the stamp helps with separation, but too much water can soften the putty to the point where its ability to retain the texture is effected. All of the bases seen here have the Random Steel Plate texture applied to them.
Step Four - Footprinting
 |
| Like the Chinese Theatre in Hollywood, but smaller. |
While the putty is still soft, push the figure's feet slightly into the putty. This increases the surface area when the figure is later glued to the hardened putty.
Opinions
A word of warning: The stamp I received had a very strong "rubber" odor when it was fresh out of the package. It was sentenced to a brief exile out in the garage while the material out-gassed. It's fine now, but those with a sharp sense of smell or live with those who do should be advised.
The texture applied by the stamp is fairly sharp and defined, but is limited by the nature of the product. Putting extremely fine details on a soft rubber stamp might make it too delicate to survive extended use. Some of the base inserts currently on the market will have more detail. On the other hand, the cost difference between a blob of putty and the more expensive resin inserts adds up quickly. The Happy Seppuku stamp textures might not be detailed enough for a carefully painted display piece, but is certainly cost effective for a tabletop level model.